Launching Matillion ETL for Delta Lake on Azure
- DarkLight
Launching Matillion ETL for Delta Lake on Azure
- DarkLight
Article Summary
Share feedback
Thanks for sharing your feedback!
Warning
New customers must go through the Matillion Hub to select their preferred cloud provider and data warehouse to begin their Matillion ETL journey.
Overview
This is a guide to launching a Matillion ETL instance using Delta Lake on Azure.
Note
- This document is part of the Matillion ETL Instance Creation process.
- Matillion ETL uses Databricks Partner Connect to simplify the process of connecting to an existing SQL endpoint or cluster in your Azure Databricks workspace. For full details of using Partner Connect, read Connect to Matillion by using Partner Connect in the Azure documentation.
This process uses an Azure Resource Manager (ARM) template. The ARM template is a JSON file that defines the infrastructure and configuration for your Matillion ETL project. The template specifies both the resources to deploy and the properties for those resources. For more information, read Understand the structure and syntax of ARM templates.
You won't need to create your own ARM template, as we supply a pre-configured template suitable for Matillion ETL.
Prerequisites
Prior to launching a Matillion ETL instance you will need to register for a Matillion Hub account. You will also require:
- Adequate knowledge about the cloud service account (AWS, Azure, GCP) and cloud data warehouse (Snowflake, Redshift or Google BigQuery) you want to launch.
- A user with admin permissions who can access the intended cloud service account.
- Access to a cloud storage bucket (S3, Azure, Blob Storage or Google Cloud Storage) to house the transient staging files Matillion used to load data to the cloud.
- A network path to access the intended data sources. This may involve working with your network team to enable access to on-premise databases.
Deploying the ARM template and launching Matillion ETL for Azure
These steps below describe how to launch your Matillion ETL instance and deploy an ARM template in the Azure portal.
Note
Download and save the ARM template to your computer before starting the template deployment process.
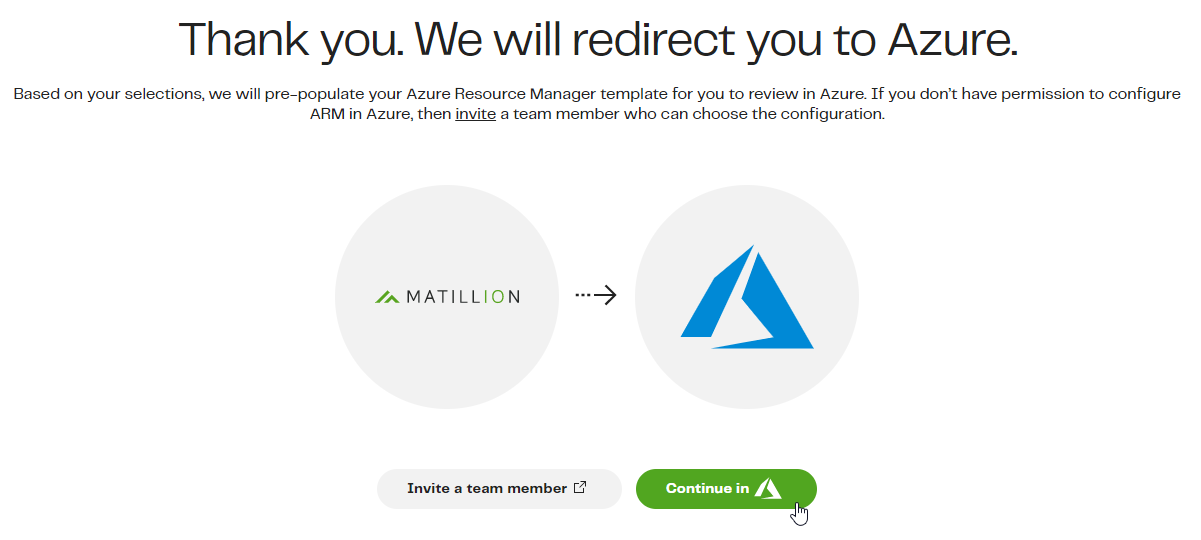
- Log in to Matillion Hub and choose your account. Click Add Matillion ETL instance on the Select your service page to begin the process of creating an instance. The last step of the creation process in the Matillion Hub will require you to select Continue in Azure, where you will be redirected to the Azure portal.
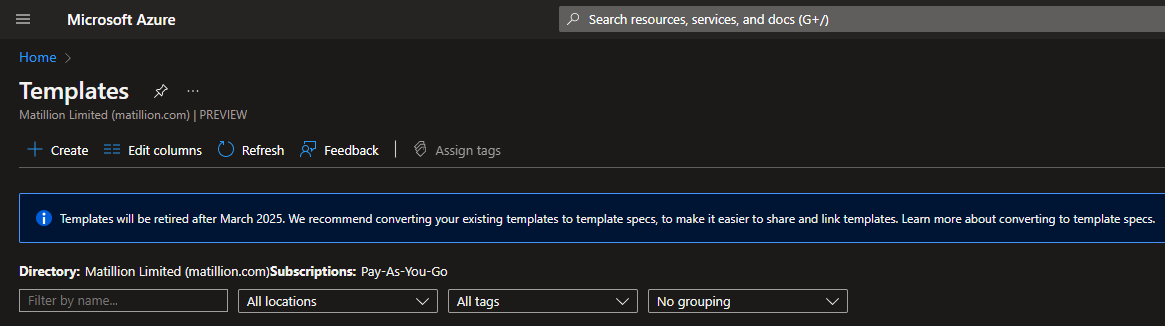
- Click Templates on the Azure services menu. If you don't see the option, type Templates into the search bar at the top of the screen, and click Templates in the search results. Either method opens the Templates page.
- Click +Create at the top-left of the page.
- Enter an appropriate Name and Description for the template, then click Next: ARM Template.
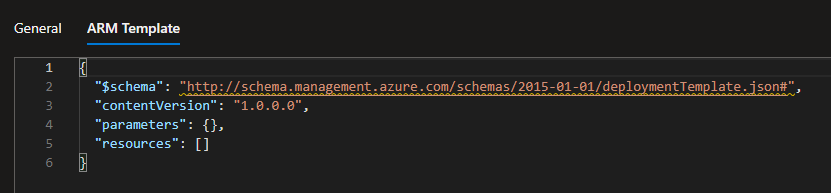
- Delete the placeholder information in the ARM Template field. Then, open the ARM template you downloaded earlier and copy and paste the contents into the field. Then, click Add.
- This will return you to the Azure services menu. Click Templates again to navigate to the Templates screen, where you will now see your new template is listed.
- Click the name of your new template to open its details page, showing its Description, Publisher, and Modified date. Click Deploy at the top-left of the page.
- The Custom Deployment page will be displayed, showing template properties pre-populated with default values provided in the downloadable template. If you need to modify any of these properties, you can do so here. For more information about template properties, see properties.
Note
When you deploy a template, you will be required to specify a resource group that will contain the resources within the ARM template. For more information about how to create a resource group, read Create resource group.
- Once you have completed your template's properties, select I agree to the terms and conditions stated above, and then click Purchase.
Note
If there are validation errors in your ARM template, you must fix these before you can continue. Azure will provide validation error information if this occurs.
- You will be redirected to your Azure portal's homepage, where you will receive a notification that the deployment of your ARM template is in progress. Click Deployment in progress in the top-right of the page.
- When the deployment of the template is finished, the Deployment is complete status will appear at the top of the page. Click Deployment details to expand the list, and click your new deployment to open a new page where the Public IP address will be displayed for your newly deployed template.
- Copy and paste the IP address into your web browser. Your Matillion ETL instance will launch and the login dialog will be displayed. Enter your credentials, and click Log In.
ARM template properties
| Property | Setting | Description | Default Value |
|---|---|---|---|
| vmName | String | The name of your Matillion ETL virtual machine. | vm-matillion |
| adminUsername | String/Select | Username for SSH, or if you are logging into a shell for the virtual machine. | centos |
| authenticationType | String/Select | Type of authentication to use on the virtual machine. SSH key is recommended. | sshPublicKey |
| adminPasswordOrKey | Secure String | SSH key or password for the virtual machine. SSH key is recommended. | Enter your key or password. |
| userAssignedIdentityMachine | String | Name of the managed identity for the virtual machine that will be created. | matillion-etl-managed-identity |
| location | String | Location for all resources. Should be the same as the Resource Group location selected at the top of the template. | centralus |
| VmSize | String/Select | The size of the Matillion ETL virtual machine. | Standard_B2s |
| publicIpAddressName | String | The name of the IP address to be created. | matillion-etl-ip-address |
| public_private | String/Select | Select Public or Private Network IP Configuration. | Select from the drop-down menu |
| networkInterfaceName | String | The name of the network interface to be created. | matillion-etl-network-interface |
| storageAccount_name | String | The name of the storage account to be created. | matillionetlstorageaccount |
| virtualNetworkName | String | Name of the virtual network to be created (or the name of an existing network). | matillion-etl-network |
| addressPrefix | String | Address prefix for new network (if specified). | 10.0.0.0/24 |
| subnetName | String | Name of the subnet in the virtual network to be created (or the name an existing subnet). | Subnet |
| subnetAddressPrefix | String | Address prefix for new subnetwork (if specified). | 10.0.0.0/24 |
| networkSecurityGroupName | String | Name of the network security group to be created. | matillion-etl-nsg |
| NSG_SourceIP | String | Source IP for allow listed traffic to Matillion ETL virtual machine. | 0.0.0.0/0 |
| offer | String/Select | The URN of the Matillion ETL product to launch. | User preference. For example, matillion:matillion:matillion-etl-for-deltalake:1.70.0 |
To find all available offers/images from Matillion, run the following command in the Azure CLI:
az vm image list --publisher matillion --all